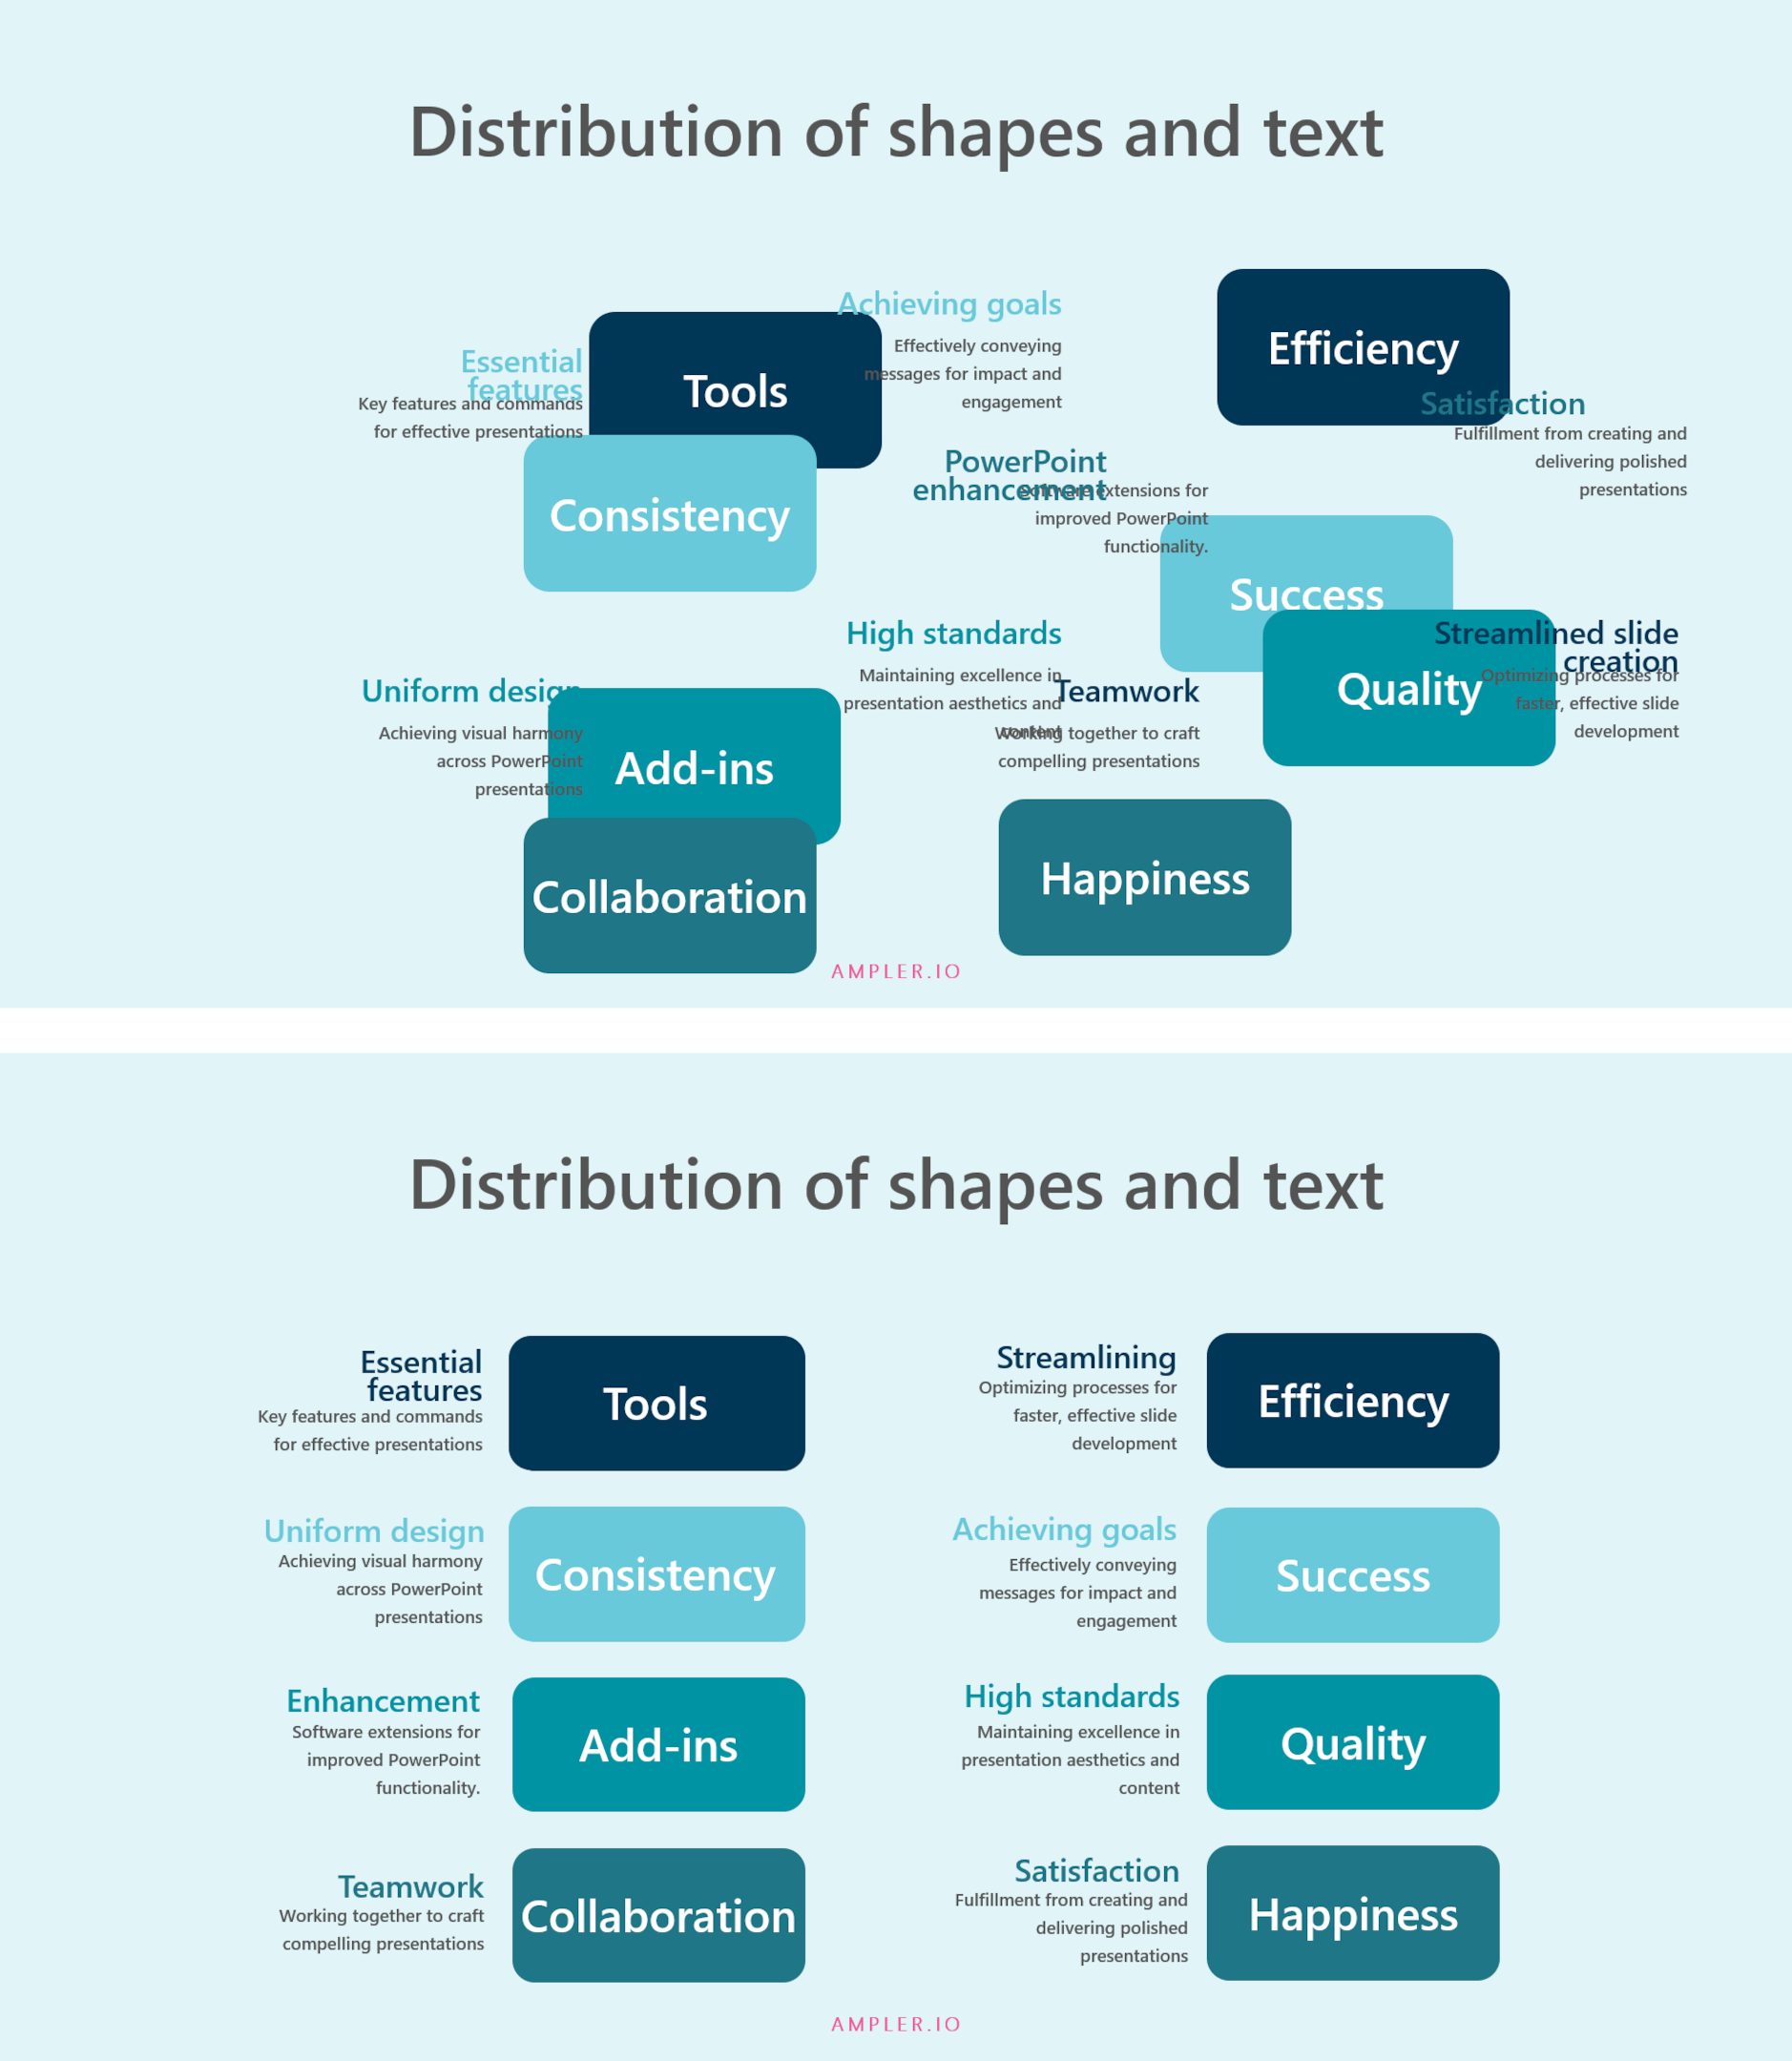
Creating professional PowerPoint presentations requires a keen eye for detail, and one essential skill is learning how to distribute shapes in PowerPoint, both horizontally and vertically.
Distributing in PowerPoint not only enhances the visual appeal of your slides but also ensures consistency and readability.
In this comprehensive guide, we’ll walk you through how to distribute shapes in PowerPoint, covering everything from selecting multiple objects to using advanced features like Smart Guides.
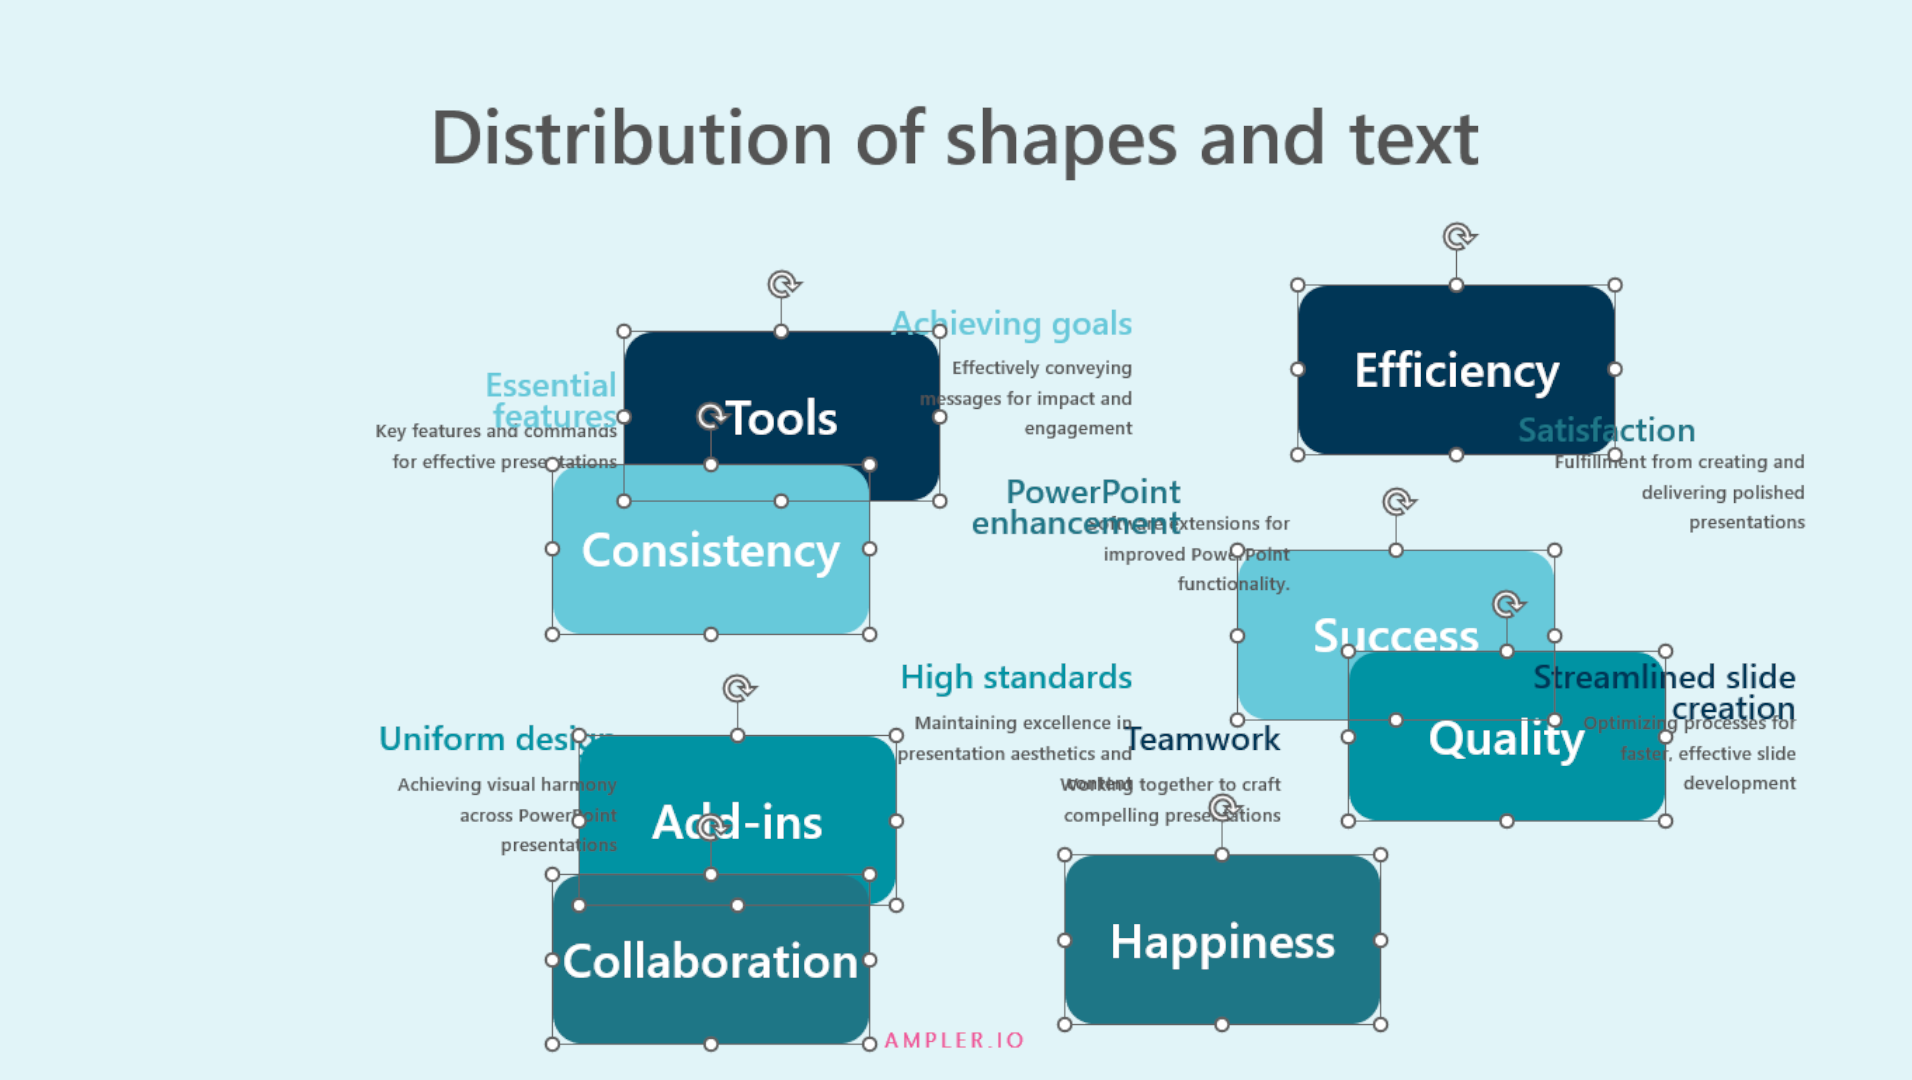
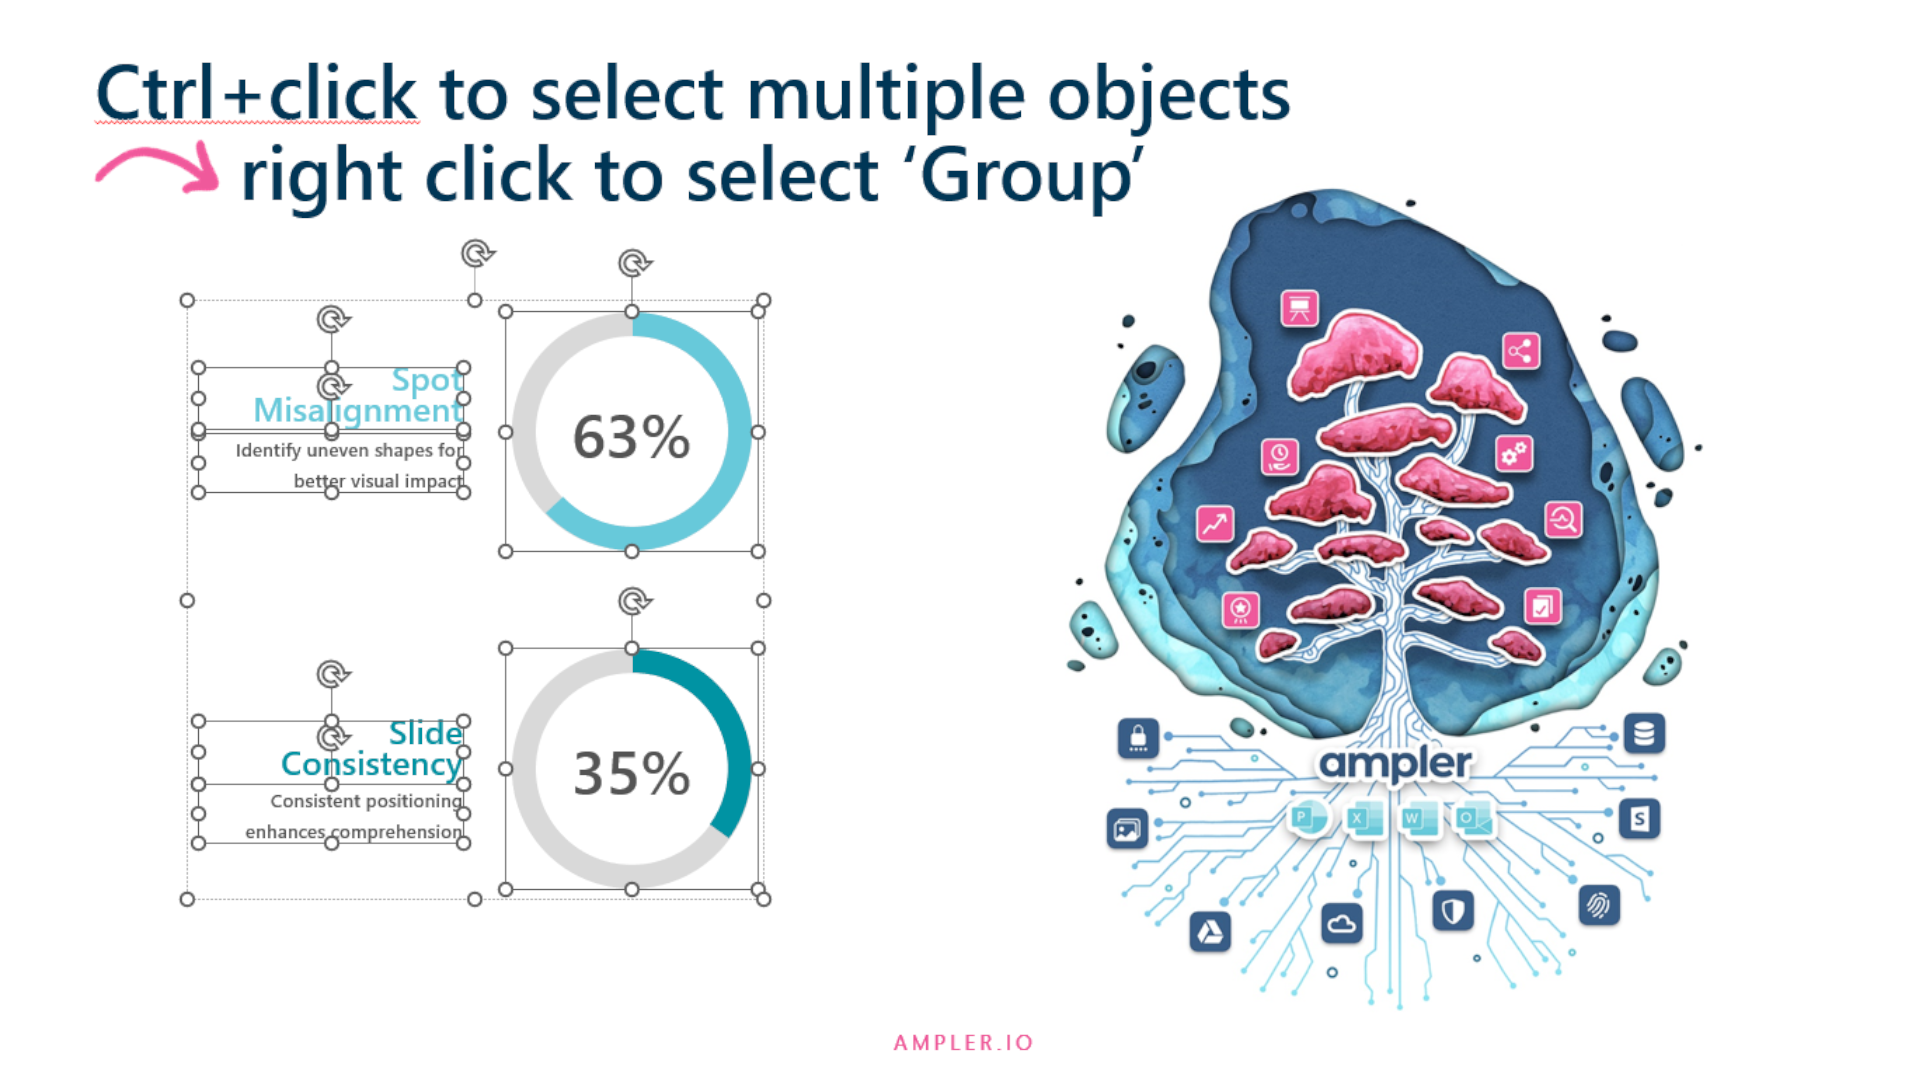
Before you can distribute evenly, you need to know how to select multiple objects in PowerPoint. To do this, press Ctrl (Cmd on Mac) and click on each object you want to select. Alternatively, click and drag a bounding box around the desired objects, and then release the mouse button.
Before distributing shapes, it’s helpful to align objects in PowerPoint. Aligning ensures that objects are positioned neatly along the same lines, creating a polished look.
Use the Align command to align selected objects along specific lines, such as Align Left, Align Center, or Align Middle.

To space shapes evenly in PowerPoint, you’ll use the Distribute Horizontally and Distribute Vertically commands. These options ensure that objects have the same spacing between them, creating a clean and organized slide.
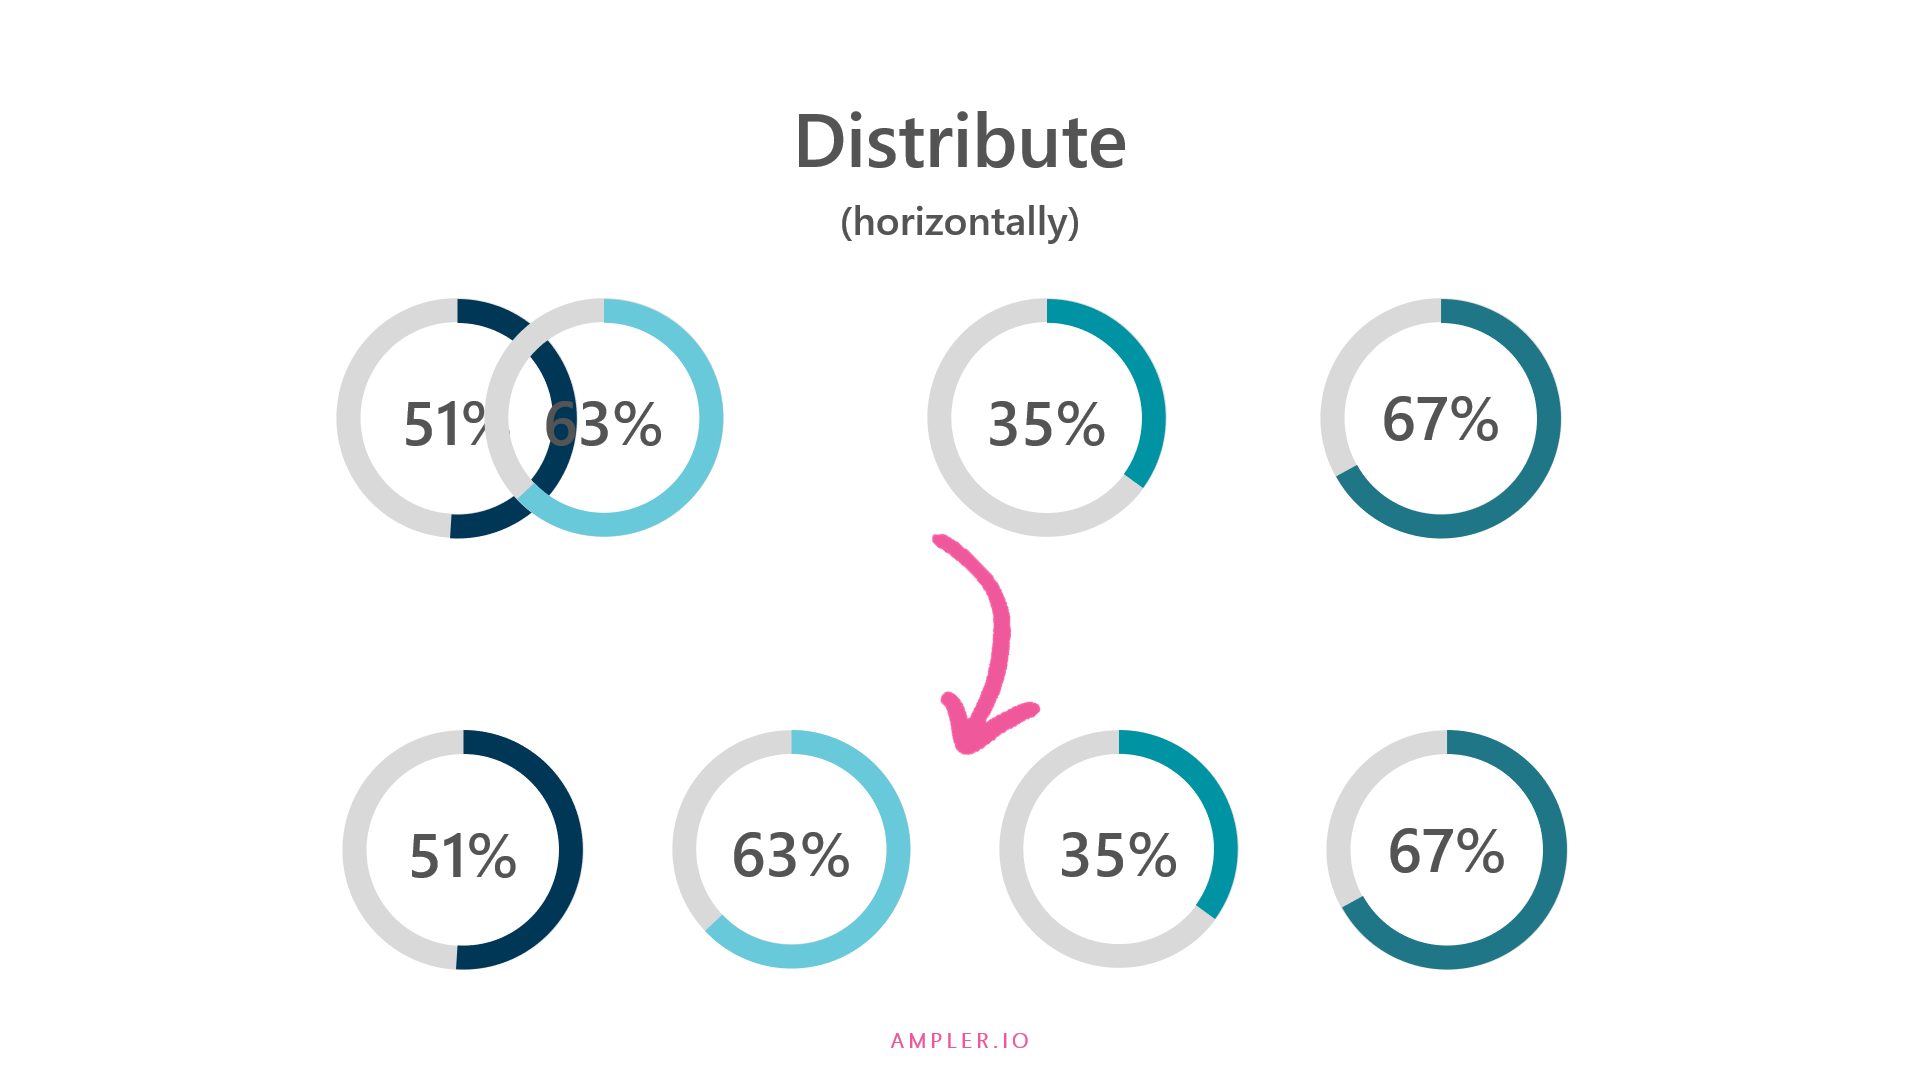
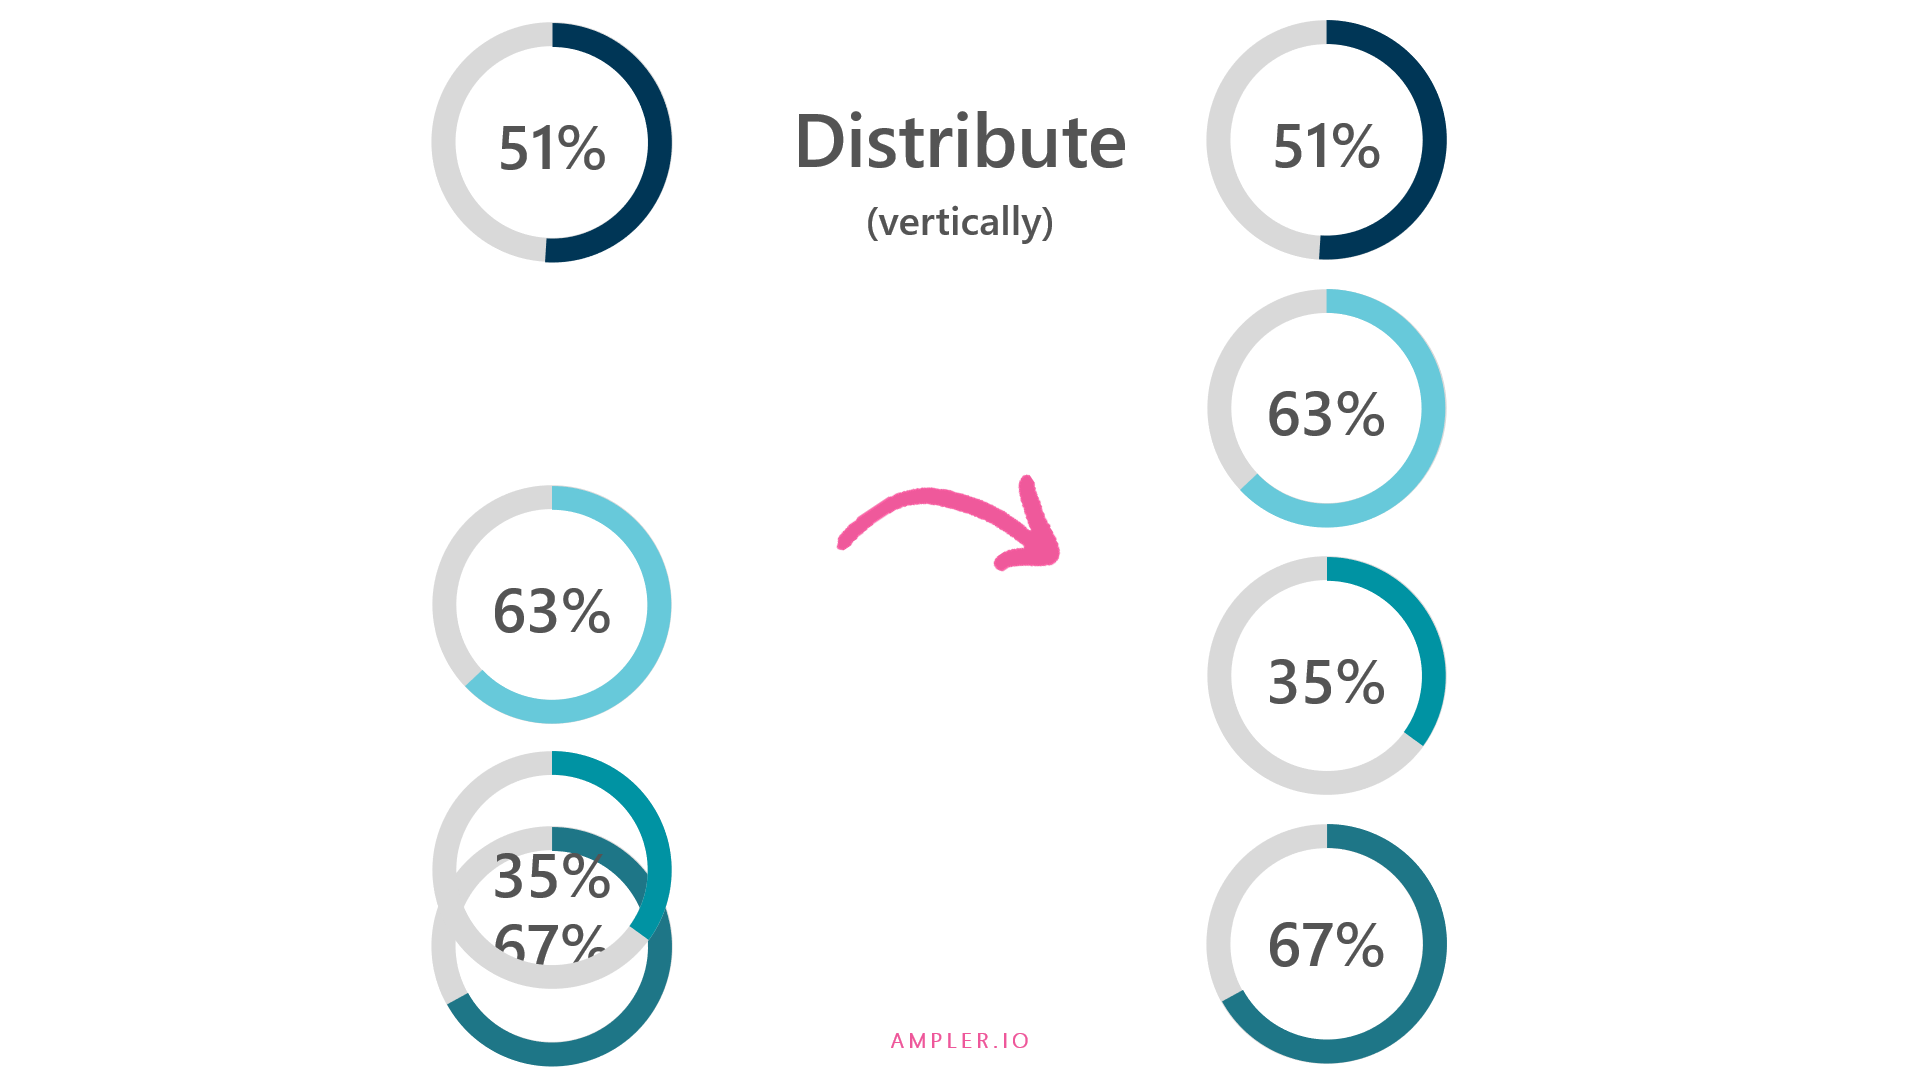
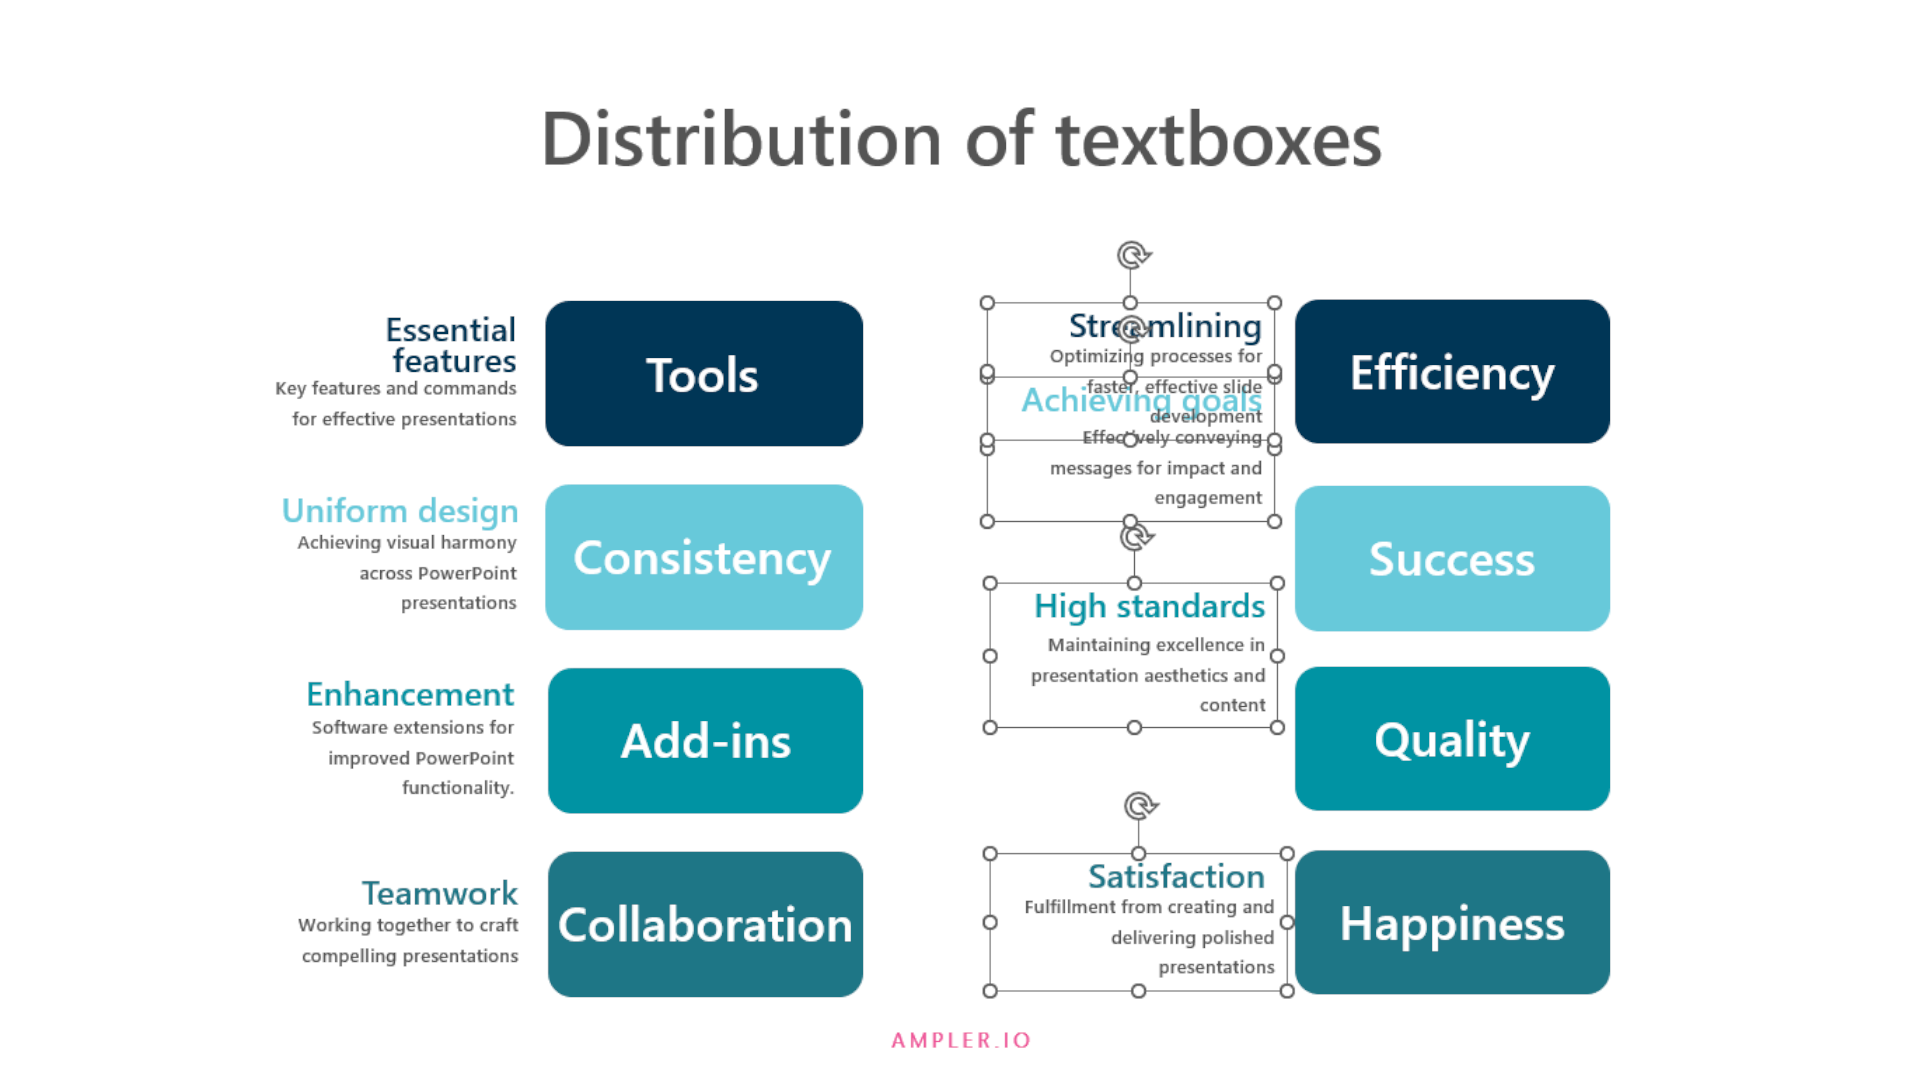
Distributing text boxes follows the same process as distributing shapes in PowerPoint.
Select multiple text boxes using the Ctrl key, and then use the alignment functions and Distribute, either horizontally or vertically, to create an organized PowerPoint slide.
PowerPoint’s Smart Guides feature helps you achieve precise spacing between objects. They are equidistance markers that appear as you move objects, allowing you to align and distribute objects with accuracy.
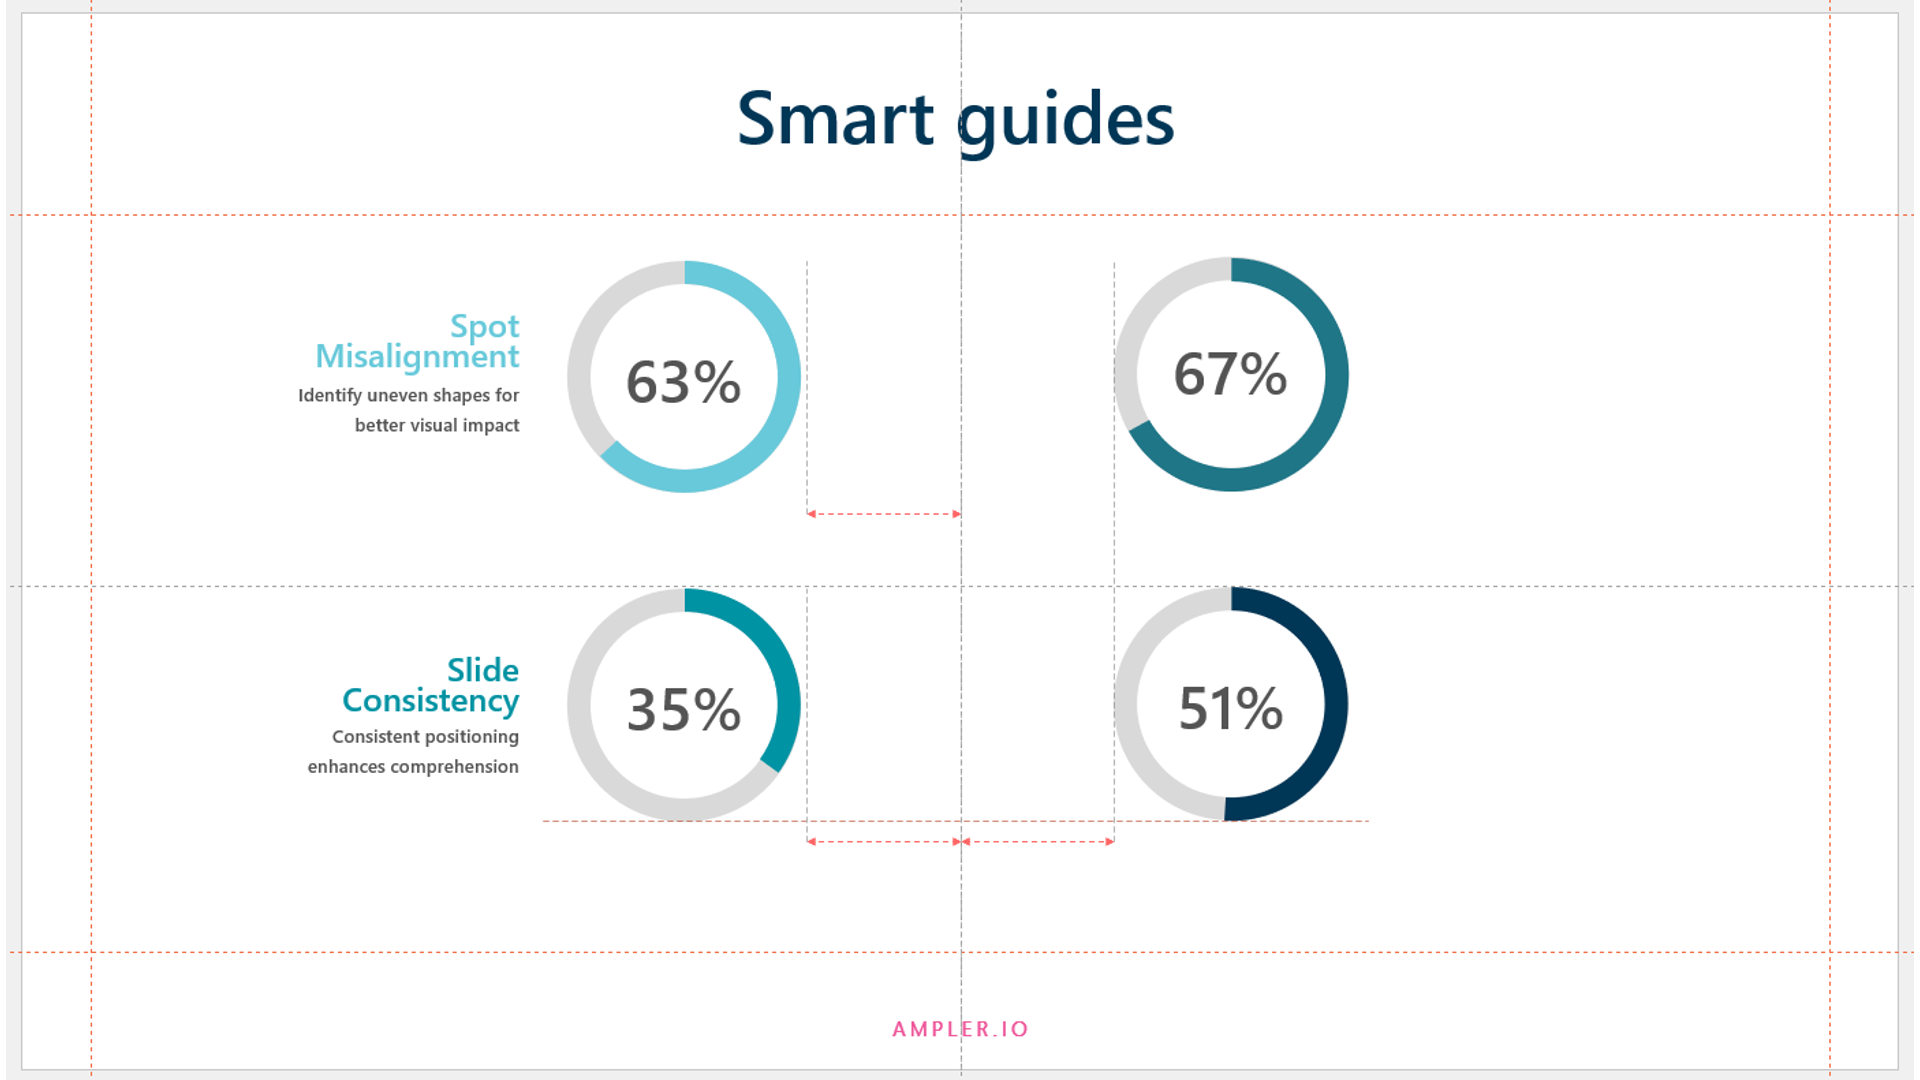
When distributing objects of different sizes, PowerPoint maintains the same spacing between the edges of the objects, regardless of their size. This can result in a visually uneven distribution compared to objects of the same size.
To create a more visually appealing distribution, you can use the following techniques:
Distributing pictures in PowerPoint follows the same process as distributing shapes. You can select multiple pictures using the Ctrl key, and then use the alignment commands and Distribute Horizontally or Distribute Vertically options to create an organized slide.

Distributing objects on multiple slides may seem challenging, but PowerPoint offers some helpful features to make this task easier:
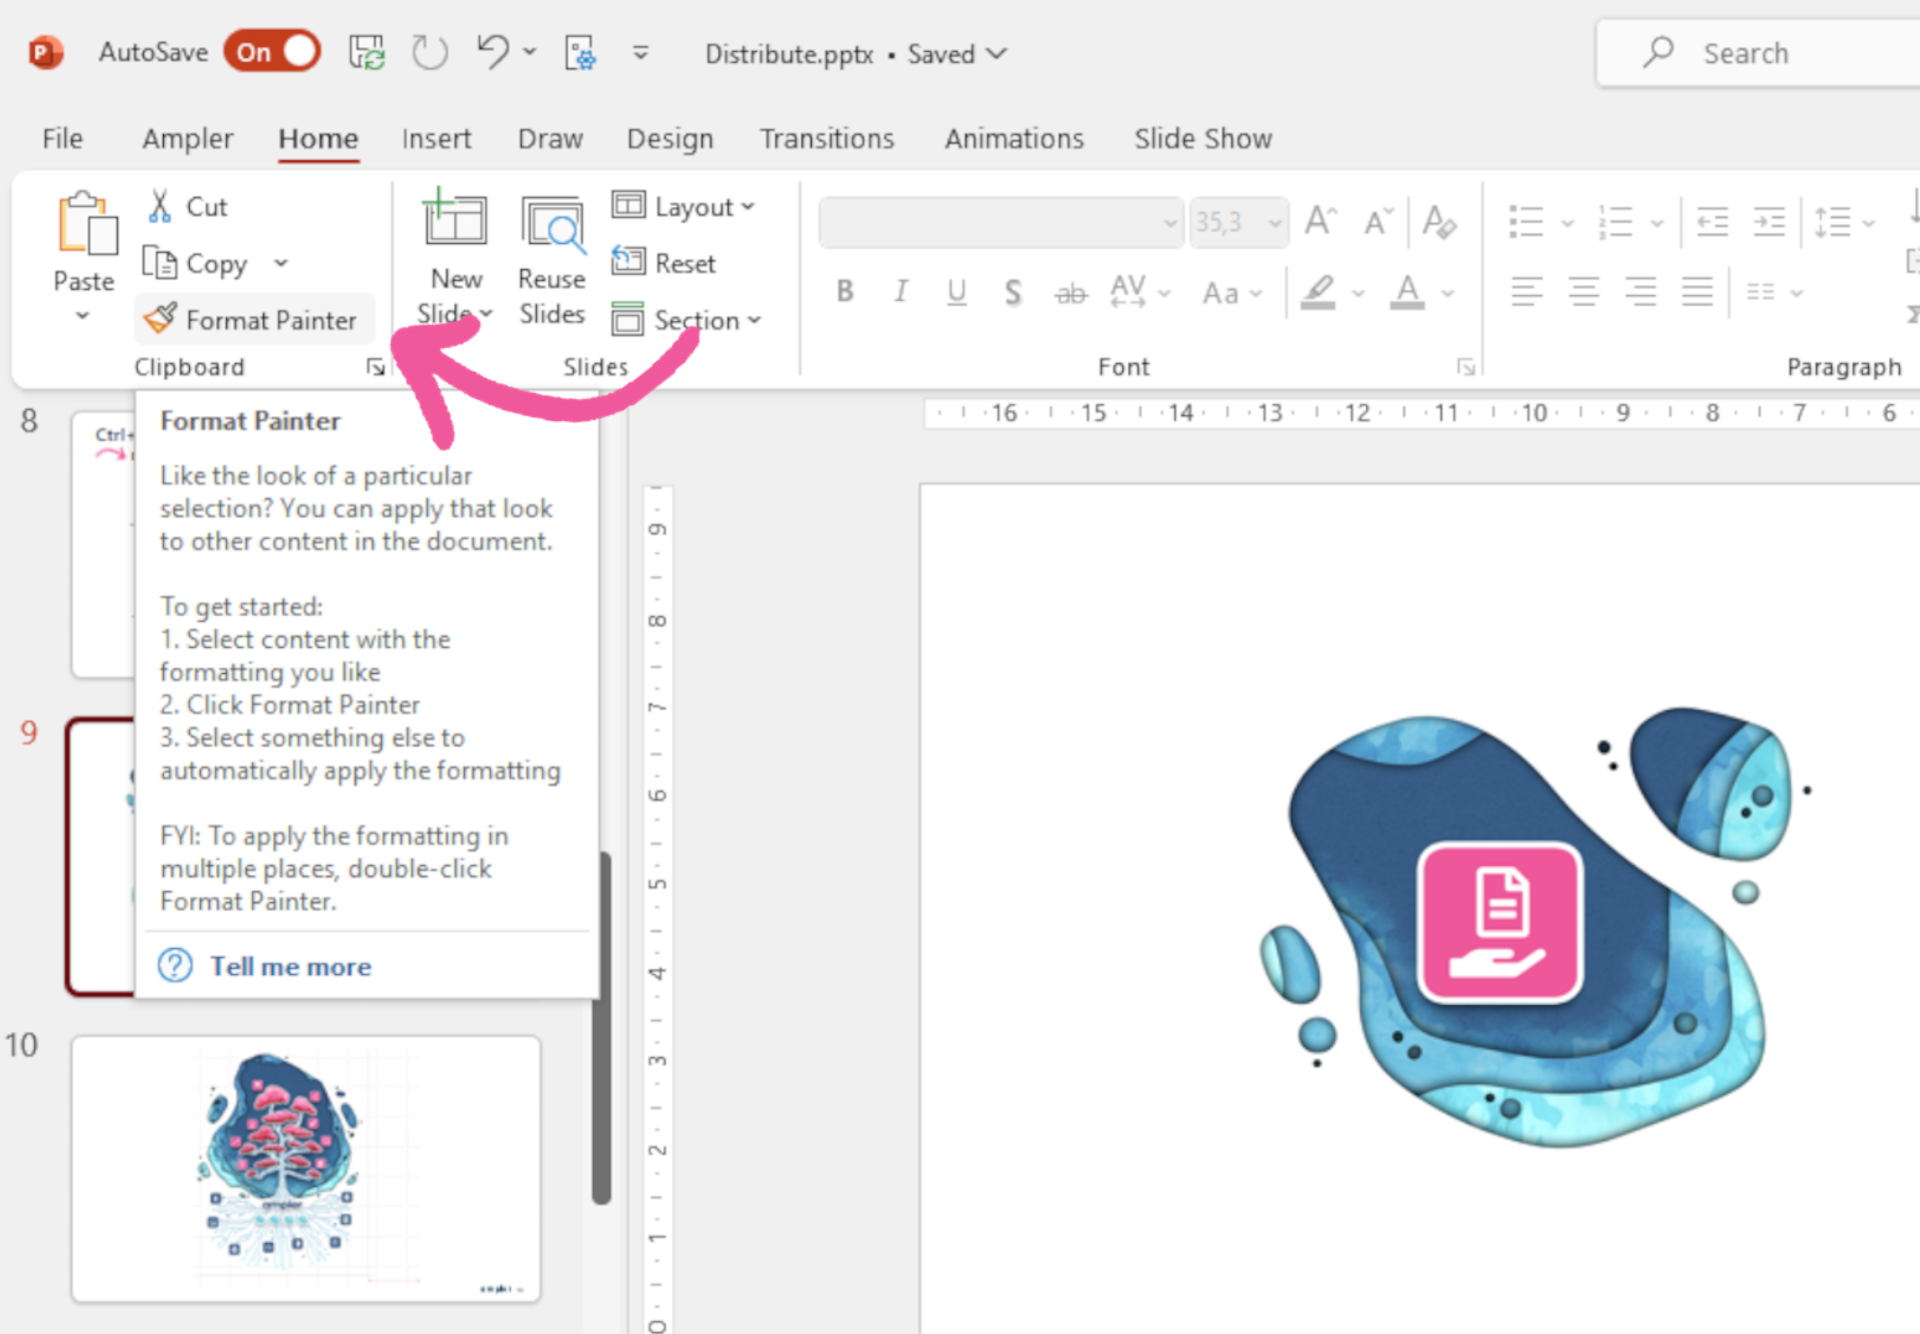
By following this comprehensive guide, you’ll be well on your way to creating polished, visually appealing presentations with expertly distributed shapes in PowerPoint.
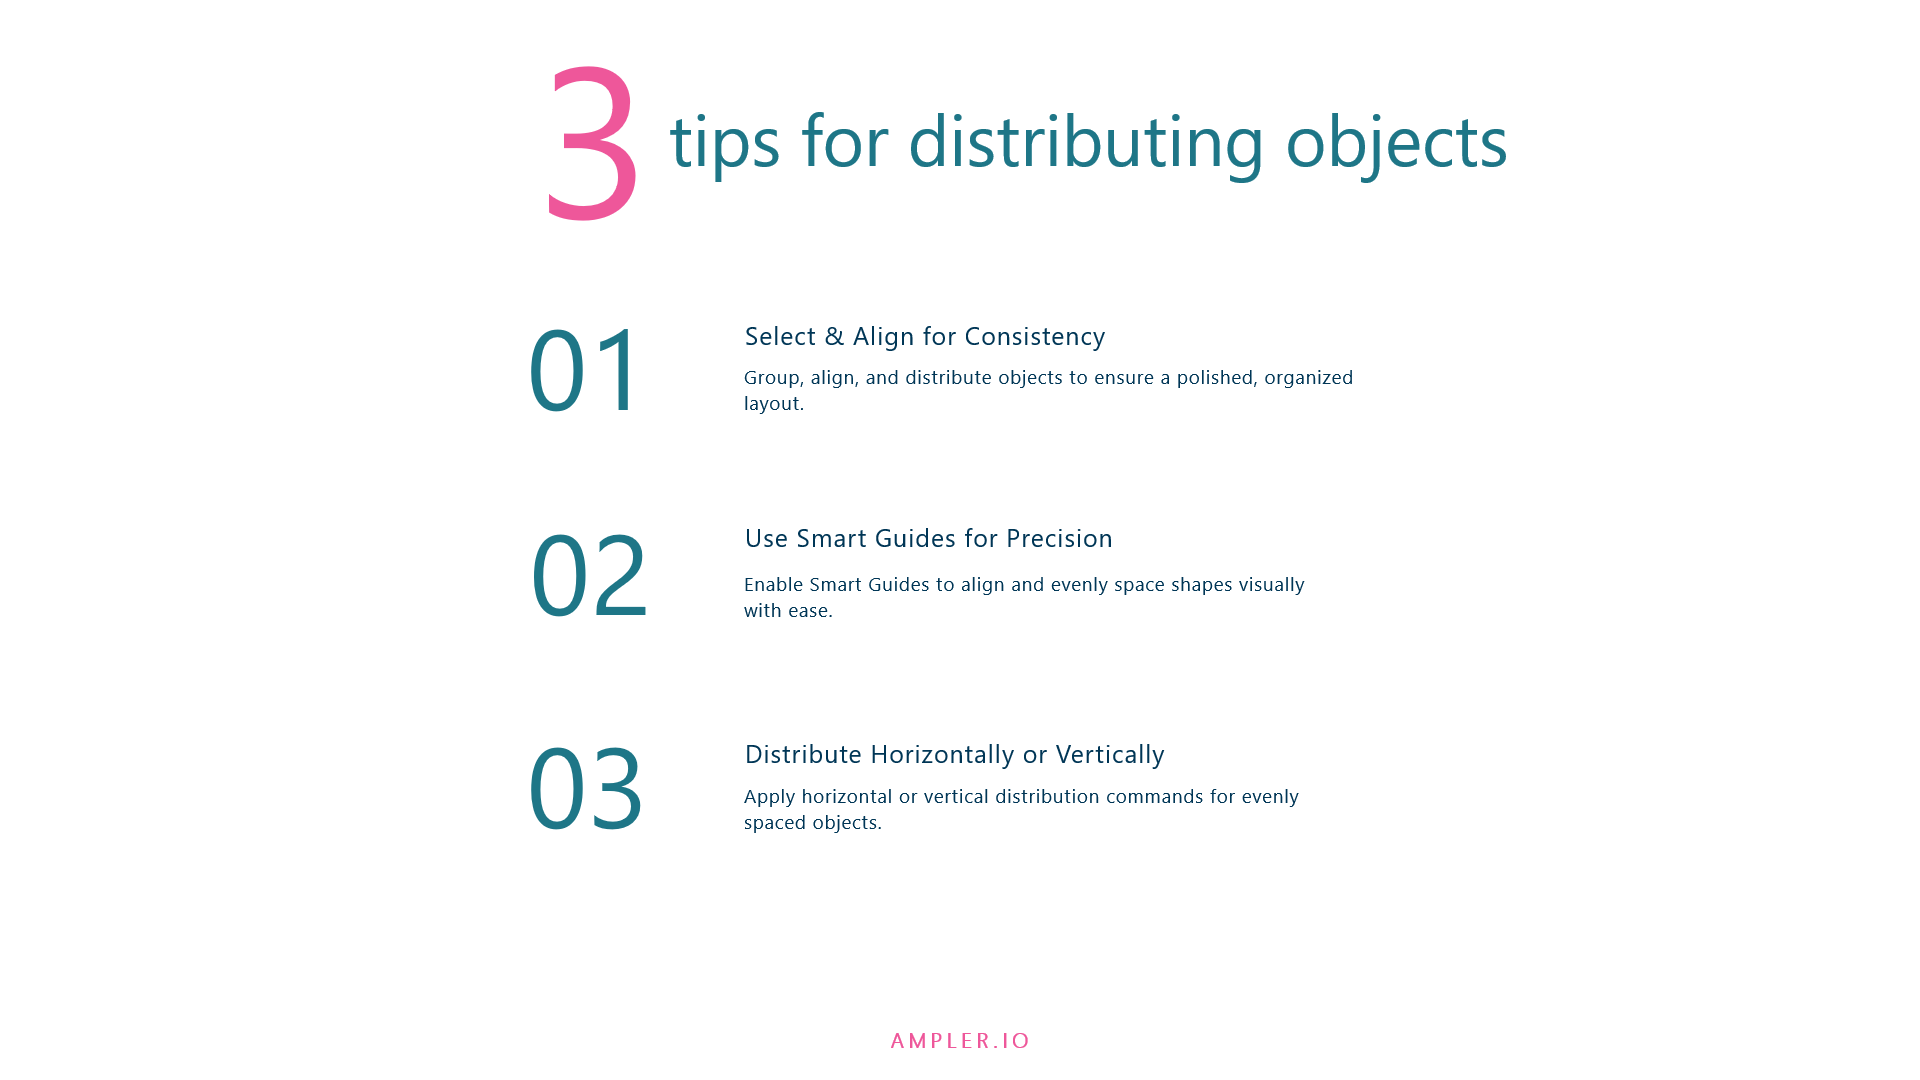
While PowerPoint offers various built-in tools to help you distribute shapes evenly, the process can still be time-consuming and require manual adjustments.
For a more efficient and user-friendly approach, consider using Ampler, a powerful add-on that simplifies and enhances the shape distribution process in PowerPoint.
Ampler offers an intuitive interface and additional features that make distributing shapes a breeze. By incorporating Ampler into your workflow, you can save time and effort, allowing you to focus on creating compelling content for your presentations.
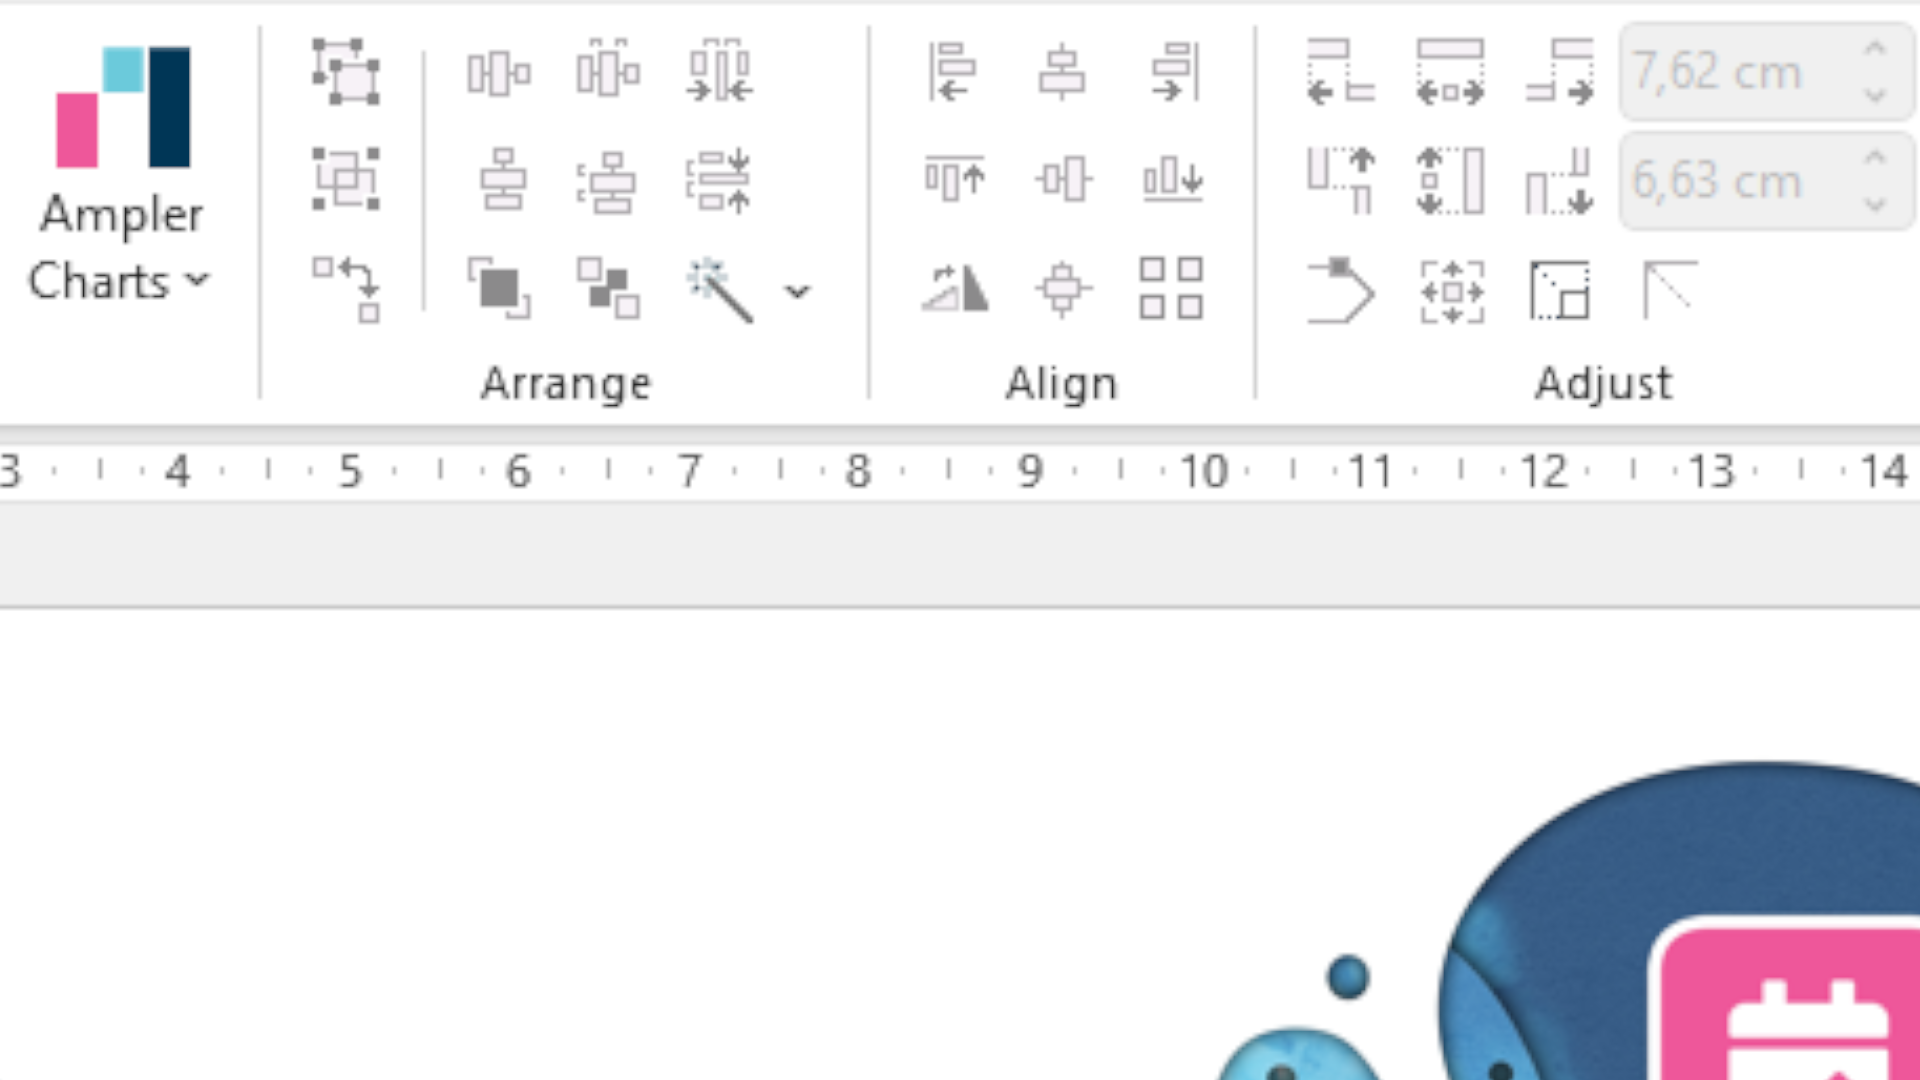
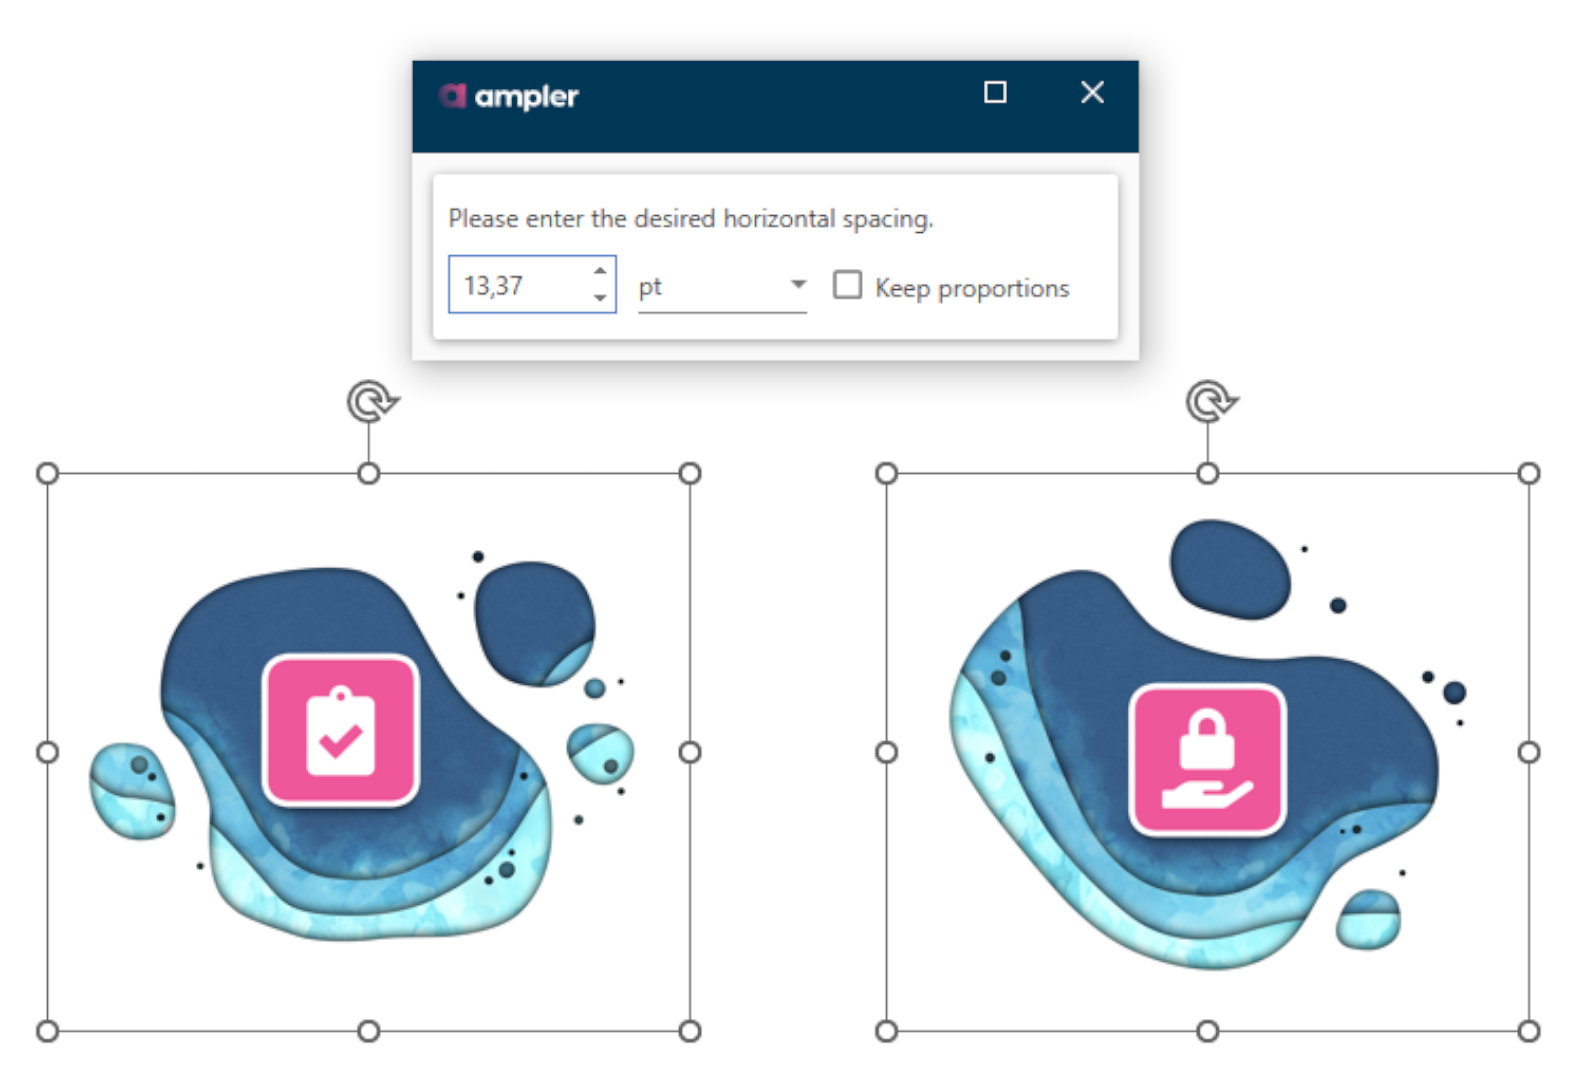
Ampler provides a unique feature that allows you to distribute shapes evenly or with predefined spacing, giving you greater control over your slide layout. This capability ensures that your shapes are not only visually appealing but also consistently spaced throughout your presentation.
To distribute shapes using Ampler, simply select the shapes you want to position, choose the distribution type (horizontal or vertical), and enter the desired spacing value. Ampler will then automatically distribute the shapes based on your specifications, streamlining the entire process.
Ampler is designed to integrate seamlessly with PowerPoint, providing a familiar interface and easy access to its powerful distribution features.
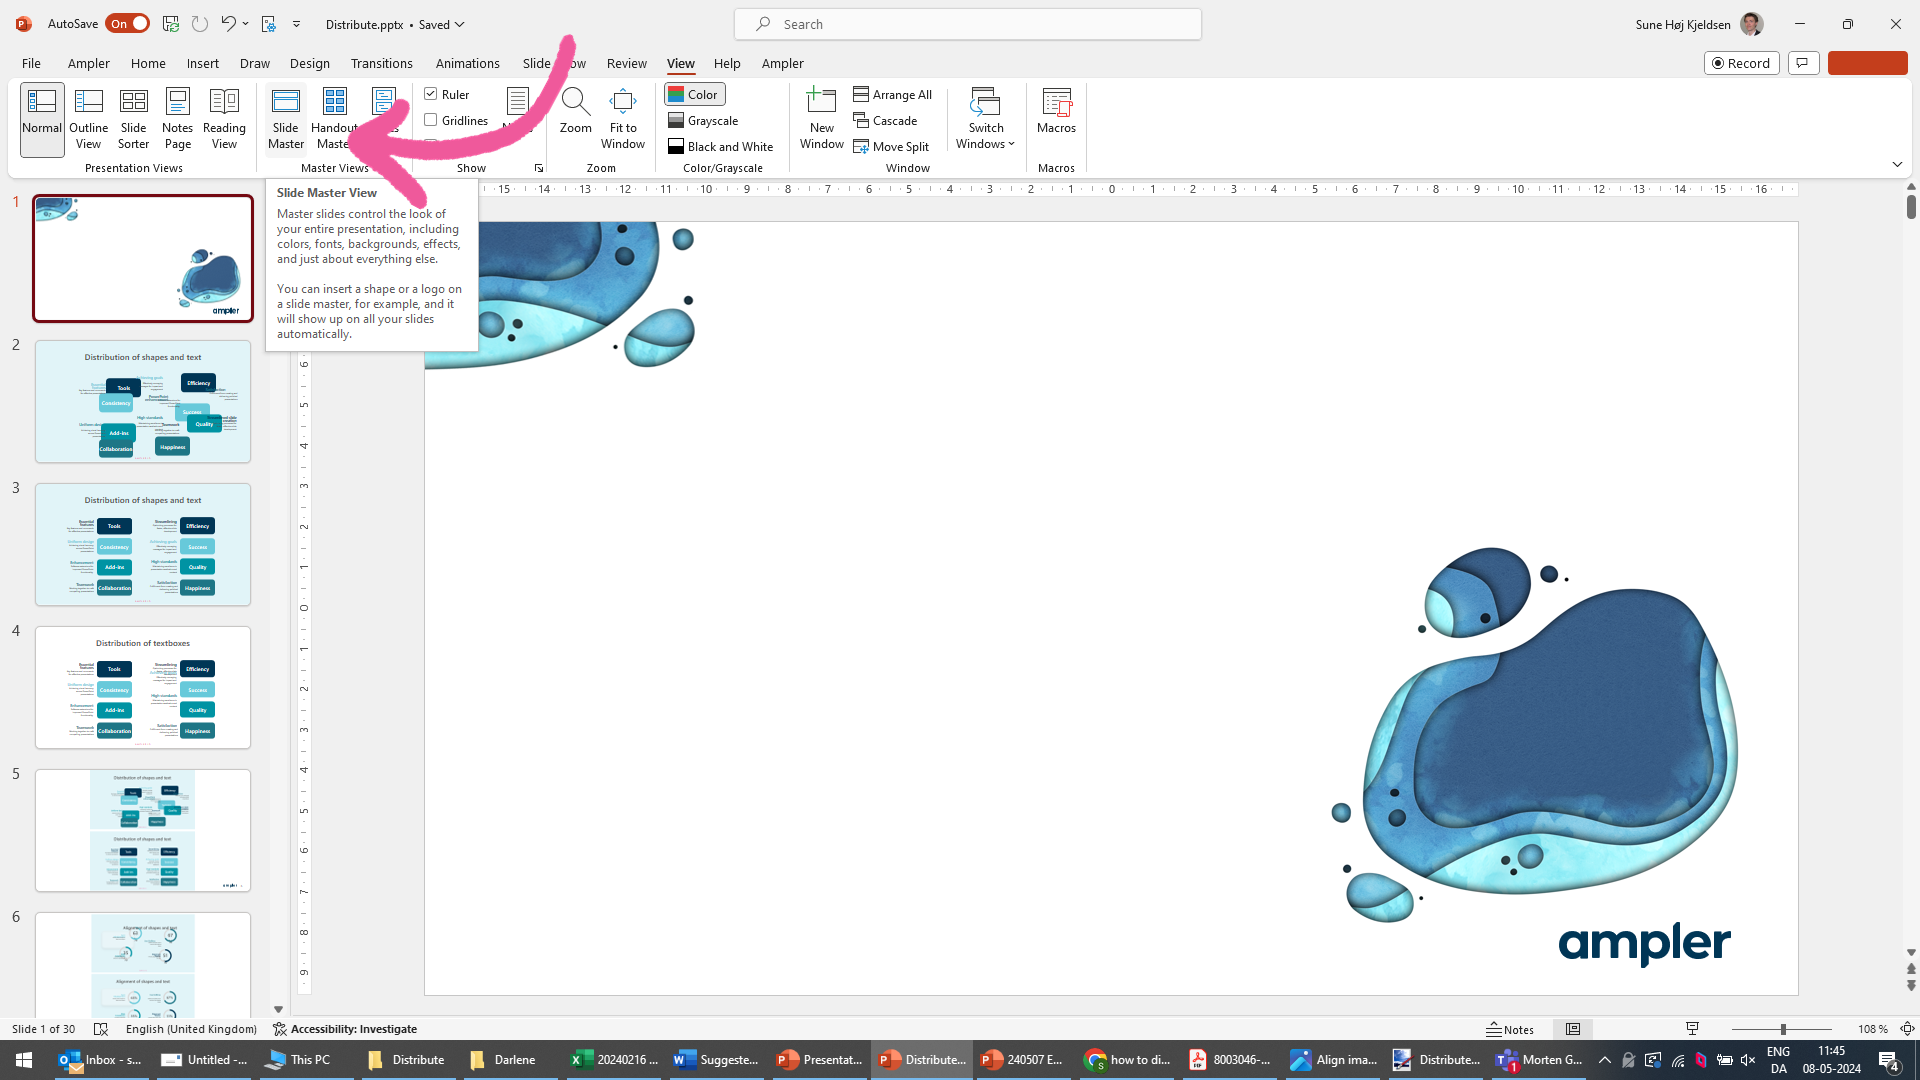
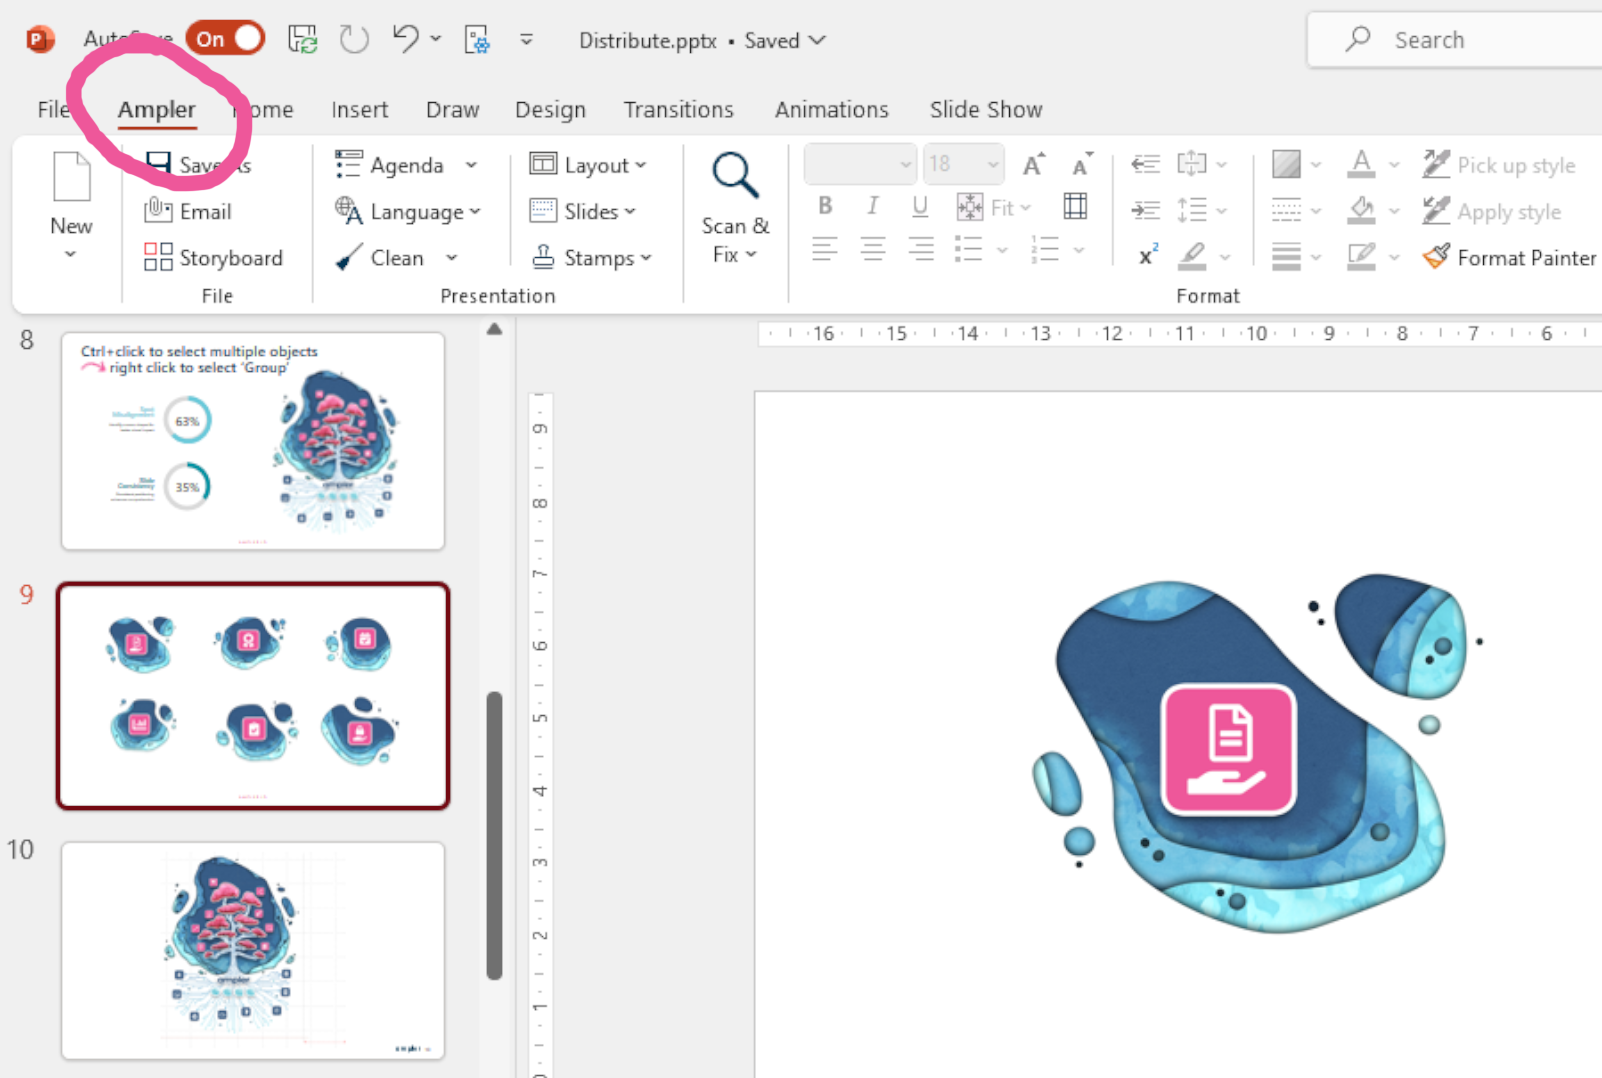
You can find Ampler in the PowerPoint ribbon under the “Ampler” tab, where you can access all the distribution options and settings.
By utilizing Ampler’s advanced distribution features, you can save time and effort that would otherwise be spent manually adjusting shapes in PowerPoint.
Ampler’s intuitive interface and enhanced distribution capabilities ensure that you can create polished, professional presentations with ease.
In conclusion, incorporating Ampler into your PowerPoint workflow can significantly improve your ability to distribute shapes efficiently and accurately. Its user-friendly interface and advanced features make it a valuable addition to any presentation toolkit.
Discover the power of Ampler today by visiting Ampler.io and revolutionize the way you distribute shapes in your PowerPoint presentations.
